Sep 23, 2026
A one-size-fits-all coop does not exist; your local climate determines the ideal design. A coop too hot in summer or drafty in winter can sicken or kill your flock. Matching your coop to your weather now prevents costly fixes and lost chickens later. Invest in a Weather Resistant Chicken Coop tailored to your region’s extremes.
Key Takeaways
Know your local weather extremes to pick a coop that keeps chickens safe.
Ventilation is key to remove moisture and prevent health problems.
Match coop features to your climate for a happy, healthy flock.
Assess Your Local Climate and Weather Challenges
Before you shop for any coop, you must understand what your local weather demands. Every region tests a flock differently. Your job is to name the specific pressures your chickens will face.
Identify Temperature Extremes
You should record your area's highest summer heat and lowest winter chill. Chickens struggle when temperatures climb above 90°F or drop below 20°F. A coop that traps heat becomes an oven in July. A coop with thin walls becomes a freezer in January. Write down both extremes, then plan for the worse of the two.
Consider Precipitation and Humidity
Rain and humidity shape coop health as much as temperature does. You should track your average annual rainfall and your typical humidity range. High moisture inside a coop creates serious problems for your flock's respiratory system.
Relative Humidity (RH)
Risk Level for Respiratory Disease
Action / Notes
40–60%
Optimal
Ideal range for poultry; panting works efficiently
60–70%
Monitor closely
Panting efficiency begins to decline
Above 70%
Increased risk
Take action; conditions favor pathogen establishment and spread
Above 80%
High risk
Respiratory illness risk rises; flock shows stress behavior
Appropriate housing plays a large role in reducing the risk of respiratory infections. When the coop isn't opened back up in the morning prior to increasing temperatures, a humidity spike will take a toll on the confined flock's respiratory tract. An ammonia level higher than 25 ppm is enough to damage cilia in the airways of chickens, which allows respiratory pathogens to colonize and cause disease.
Sustained humidity above 70% does not directly cause illness, but it helps respiratory pathogens establish and spread. Wet bedding raises ammonia, which damages the chicken's first line of defense. Flocks in chronically humid coops show higher illness rates than flocks in well-ventilated housing.
Evaluate Wind and Storm Risks
You should note your prevailing wind direction and the frequency of severe storms. Strong gusts can rip off lightweight roofs and blow rain into open vents. Coastal areas face salt air and hurricane threats. Inland plains face straight-line winds and hail. A Weather Resistant Chicken Coop must handle your worst local storm, not an average day.
Note Seasonal Shifts and Their Impact
You should map how your weather changes across the year. Some regions swing 100°F between summer and winter. Others face a long rainy season followed by months of drought. These shifts determine how much flexibility your coop design needs. A coop built for one season alone will fail your flock in another.
Match Coop Features to a Weather Resistant Chicken Coop
You now know your climate pressures. The next step is matching coop features to those pressures. A Weather Resistant Chicken Coop solves your top two weather problems first. Every other feature comes after that.
Insulation for Hot vs. Cold Climates
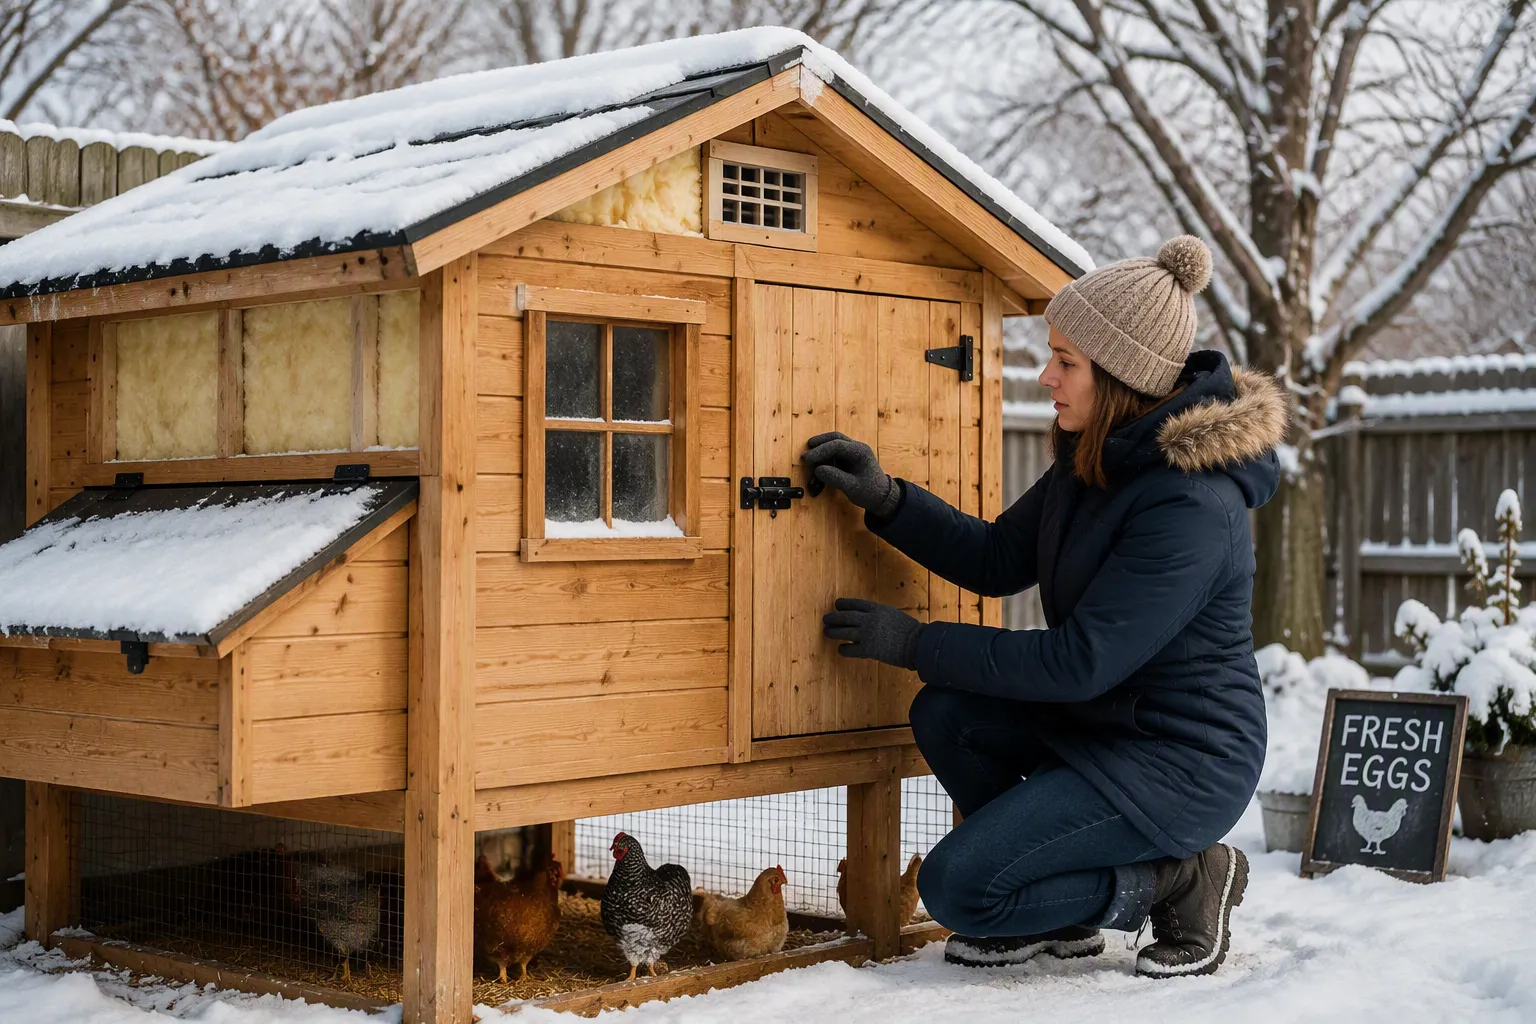
Insulation works differently in hot and cold climates. In cold regions, insulation traps heat from the flock's bodies and blocks outside chill. In hot regions, insulation slows heat transfer from the sun into the coop interior. You need insulation in both cases, but the target values differ.
Cold-climate owners should aim for specific R-values based on their USDA zone. The table below shows the targets.
USDA Climate Zone
Avg Winter Low
Wall R-value Target
Roof R-value Target
Zone 5 (Midwest, New England)
-10 to 0°F
R-10 to R-13
R-13
Zone 6-7 (Upper Midwest, Mountain)
-20 to -10°F
R-13 to R-15
R-13
Zone 8+ (Alaska, northern Canada)
Below -20°F
R-15+
R-13
The only R-value guidance any poultry extension source publishes is the University of Kentucky's: good insulating materials run above R-10. A 3-1/2" batt (R-13) clears that bar.
Frostbite prevention is tied to moisture control through ventilation rather than insulation alone, though the R-value targets above are specified for cold climates. You should treat insulation as one part of a system. Ventilation handles the moisture that actually causes frostbite on combs and wattles.
Material choice affects both cost and performance. The table below compares common options.
Material
Purchase Cost (qualitative)
Energy Savings (qualitative)
Foam Boards
Cost-effective, lightweight, easy to install
Excellent thermal resistance, traps heat well
Fiberglass
Affordable
Great insulation, but needs sealing to avoid pecking
Straw Bales
Natural, often free or low-cost
Creates barrier, provides some warmth
Wood
Readily available, moderate cost
Good thermal resistance, natural look
Cardboard/Newspaper
Very low cost (tight budget)
Temporary, minimal insulation
Recycled Materials (blankets, tarps, bubble wrap)
Often free or cheap
Temporary, some heat retention
Foam boards give you the best balance of cost and thermal performance for most backyard coops. Fiberglass works well, but you must seal it behind walls. Exposed fiberglass invites pecking, and pecking destroys both the insulation and the bird's health. Straw bales suit temporary setups or mild climates. Cardboard and recycled materials serve as short-term fixes only.
Hot climates flip the insulation logic. You want reflective barriers and shaded walls more than thick batts. A radiant barrier on the roof underside blocks solar heat before it enters the coop. Light-colored exterior walls reflect sunlight and lower interior temperatures by several degrees.
Ventilation to Manage Moisture and Heat
Ventilation is the single most important feature in any Weather Resistant Chicken Coop. It removes moisture, ammonia, and heat. It also prevents frostbite in winter and heat stress in summer. Poor ventilation causes more flock illness than cold temperatures do.
You need two ventilation types working together. High vents near the roofline let hot, moist air escape. Low vents near the floor draw fresh air in. This stack effect creates continuous airflow without drafts at bird level. Aim for at least 1 square foot of vent space per bird in mild climates. Cold climates need less total vent area, but the vents must sit above the birds' heads.
Never seal a coop tight to keep it warm. Sealed coops trap moisture from droppings and respiration. That moisture condenses on combs and wattles, and frostbite follows. The ammonia level tells you if ventilation is failing. An ammonia level higher than 25 ppm damages the cilia in chicken airways. Damaged cilia let respiratory pathogens colonize and cause disease.
Adjustable vents give you seasonal control. You open them wide in summer for maximum airflow. You close the low vents in winter to stop drafts while keeping high vents open. Hardware cloth covers every opening to block predators and pests.
Roof Design and Rain Protection
Your roof is the coop's first defense against rain, snow, and sun. A poor roof design lets water into the coop and rots the structure. It also fails under snow load or wind uplift. You should choose a roof that sheds water fast and holds up to your local storms.
Roof pitch matters more than most owners realize. A steep pitch sheds rain and snow quickly. A shallow pitch holds water and invites leaks. Overhangs protect walls and vents from wind-driven rain. You want at least 12 inches of overhang on the windward side.
Material choice affects durability and temperature regulation. The table below compares the two most common options.
Attribute
Metal Roofs
Asphalt Shingles
Durability
Highly durable and weather-resistant; protects against rain, snow, and wind
Weather-resistant and effective
Temperature Regulation
Good insulation; keeps coop cool in summer and warm in winter
Provides good insulation
Pest Resistance
Resistant to pests
Not specified
Maintenance & Lifespan
Lasts many years with minimal maintenance
Easy to install; available in various colors and styles
Asphalt shingles offer some insulation properties. They can help regulate temperature by reflecting sunlight and reducing heat absorption into the chicken run. High-quality shingles can have a relatively long lifespan, typically ranging from 20 to 30 years or more with proper maintenance.
Metal roofs win on durability and pest resistance in most climates. Asphalt shingles cost less upfront and suit mild regions. In hurricane or high-wind zones, you should add hurricane straps and screw-down panels. In heavy snow zones, you should reinforce the roof structure for snow load. A roof that collapses under snow kills the flock inside.
Predator Resistance Adapted to Your Area
Predators vary by region, and your coop must match the local threat. Raccoons dominate most of the United States. Weasels threaten northern states and Canada. Foxes, hawks, snakes, and bears add pressure in specific areas. You should identify your top local predators before you buy or build.
Hardware cloth is the standard for predator-proofing. According to university extension predator-proofing guidelines, you should use 19-gauge minimum welded hardware cloth rather than the thinner 23-gauge product commonly sold at big-box stores. The 23-gauge product is not predator-rated and raccoons can tear it open. For raccoon and weasel prevention, you need 1/2-inch mesh. In weasel country across the northern US and Canada, you should use 1/4-inch mesh at coop pop-doors and any opening smaller than 2 inches. Juvenile and least weasels can squeeze through 1/2-inch mesh.
Dig defense matters as much as wall defense. You should bury hardware cloth 12 inches deep around the coop perimeter. Bend the bottom 6 inches outward in an L-footer shape. This stops digging predators like foxes and coyotes. A skirt of hardware cloth laid flat on the ground works too, and it saves digging effort.
Latches deserve equal attention. Raccoons open simple hooks and sliding bolts. You should use two-step locks or carabiner-style latches on every door. Secure vents with hardware cloth and sturdy frames. Check every gap larger than 1/4 inch, because mice and snakes enter through small openings.
Optimize Coop Placement, Size, and Compliance
Positioning for Shade, Sun, and Windbreaks
You should place your coop where it catches morning sun and afternoon shade. Morning light dries moisture and warms the flock after cold nights. Afternoon shade prevents heat buildup during summer peaks. Deciduous trees on the south and west sides give you both benefits. They drop leaves in winter and let sunlight through.
You also need a windbreak on your prevailing wind side. A solid fence, hedge, or building blocks cold gusts. Leave 10 to 15 feet between the windbreak and the coop for airflow. This gap prevents snow drifts and keeps ventilation working.
Sizing According to Flock and Yard Space
You should give each chicken at least 3 to 4 square feet inside the coop. Bantam breeds need slightly less. Large breeds need more. Add 8 to 10 square feet per bird in the run. Crowded coops raise humidity, ammonia, and disease risk. A Weather Resistant Chicken Coop sized correctly for your flock performs better in every season.
Local Zoning and Permit Requirements
You must check your local rules before you buy or build. According to The Coop Score, most U.S. cities and suburbs that permit backyard chickens impose a minimum coop setback distance from property lines, and this distance commonly falls within a range of 10 to 25 feet. These rules differ substantially between cities and counties, so you should verify your specific local ordinance first.
Rule type
What to verify
Property line
Minimum side and rear setback
Neighbor dwellings
Distance from nearby homes
Your house
Distance or attached-structure limits
Flock count
Maximum hens by lot size
Roosters
Allowed, banned, or permit-only
Waste
Manure storage and odor control language
Quick-Reference Checklist for Final Selection
Before you commit, confirm these items: your top two weather concerns, your USDA zone, your local setback distance, your flock size, and your predator threats. Match every coop feature to that list. A coop that solves your climate first will serve your flock for years.
Your climate comes first, and your budget comes second. Name your top two weather concerns, then prioritize the features that solve them. Measure your space and check local rules before you buy. Review your weather data, list your must-haves, and select a Weather Resistant Chicken Coop that keeps your flock thriving year-round.
FAQ
What is the most important feature in a weather resistant chicken coop?
Ventilation matters most. It removes moisture, ammonia, and heat year-round. Good airflow prevents frostbite in winter and heat stress in summer. Prioritize adjustable vents above all other features.
Do I need insulation in a hot climate?
Yes, but for a different reason. Insulation slows heat transfer from the sun into the coop. You should also add a radiant barrier and light-colored exterior walls. These reflect sunlight and lower interior temperatures.
How do I check local coop rules before buying?
Contact your city or county planning office first. Ask about setback distances, flock limits, and rooster bans. Verify these rules before you purchase or build anything.
LEER MÁS



 Red IPv6 compatible